What you see on the display is a function of what is in your radio. The DMR-ID is part of the transmission and the radio uses the “digital contact list” to turn the “Radio-ID” into what you see on the display.
Note that what you see on the display of the 878 is configurable. The CPS “Optional Settings” dialog and then “Display” tab has an option for “Call Display Mode” and that is a choice between “Turn Off Talker Alias”, “Name Based” and “Call Sign Based”. We’ll ignore “Talker Alias” for now. Below are examples of the 878 display with each selection made.
To further tweak things, different interpretations of the digital contact list can be used. One common one is by KM4VIG. He has included license class info and put different info into the digital contact list CSV file fields. Here’s an example of my display using his contact info imported into my radio and then I’ll give an explanation.
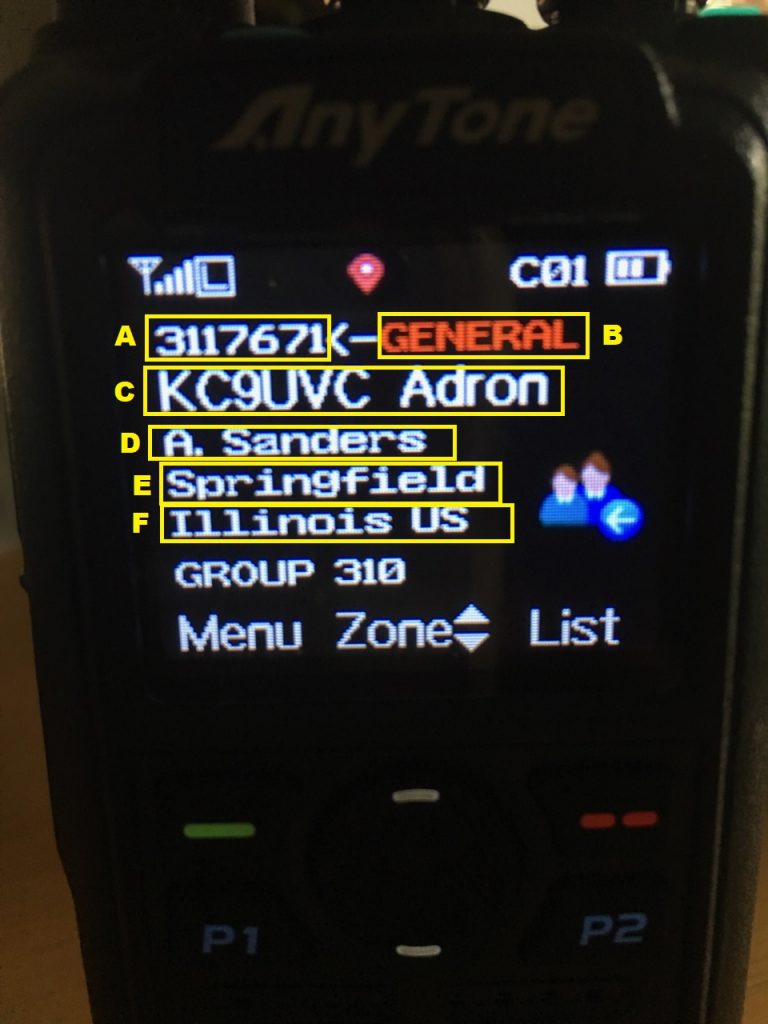
This is an image of my 878 while receiving.
My CPS has the “Call Display Mode” set to “Call Based”.
I’m also using the digital contact list from KM4VIG.
In the picture above, I’ve highlighted the “fields” on the display and put a letter next to each display field. Below I’ve mapped the display fields to the fields in the “digital contact list” CSV file.
A= “Radio ID”
B= “Callsign”
C= “Name”
D= “City”
E= “State”
F= “Country”
Note that the field names of the CSV are what the 878 thinks is in the field and how it maps the info to the display. If you’re new to CSV files and you’re wondering what I mean by field names, the first row of the CSV file has the above field names in it. Open the CSV file in a text editor (or some may used Excel) and you’ll see the field names in the first row.
Note that KM4VIG maps information to the fields a different way and adds new information for which there isn’t a field, like the license class.
I’ve played with many display options because the 878 only allows selecting red or black for “callsign” and with a black background red is your only choice (I like the black background). I find the red text hard to read. The display in the picture gives the Callsign and First Name in the large font (and it’s white) because the radio thinks it is the “Name”. The license class ends up in the “Callsign” field and moves up with the “Radio-ID” and is in red. The “City” field has the first and last name. The “State” field has the city. The “Country” field has the State and Country. I’ve simplified this to be North America centric but it maps other regions to be readable as well.
The following picture is the same KM4VIG digital contact list with the display setting changed in the CPS to “Name Based”.
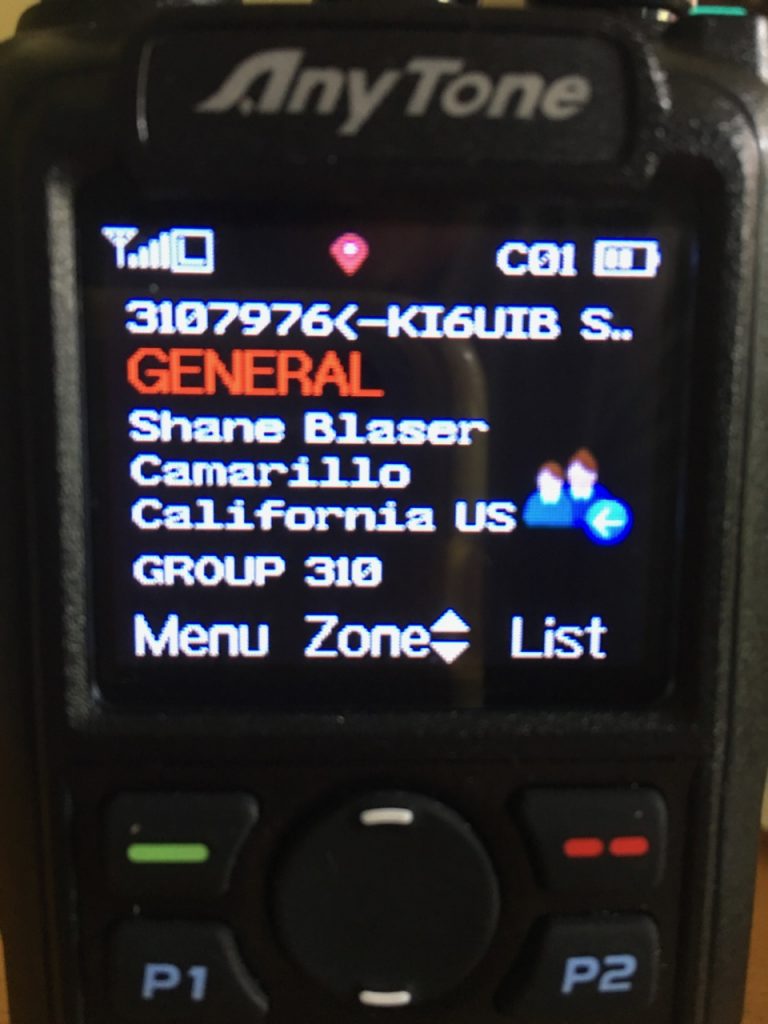
Notice that the license class info (that is in the “Callsign” field) is in the large text now and the callsign + name info (that is in the “Name” field is on the top line next to the “DMR-ID”. Basically looking back at the prior picture display picture fields “B” and “C” swap with the display setting change between “Name Based” and “Callsign Based”.
Hopefully this helps show a little of what is possible. This demonstrates the difference in CPS display settings as well as what can be done if different information is put into the digital contact list CSV file fields.
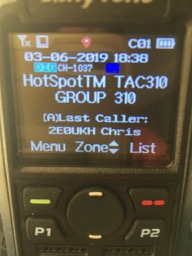
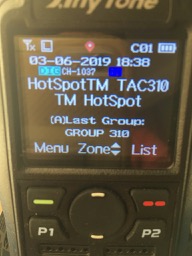
Here’s a copy of the two displays side-by-side to make the differences easier to see.

Display Call 
Display Name
Below is a shot of my screen at the time of this writing. I started with the KC4VIG digital contact list CSV file and then modified it to fit what I wanted before importing it into my Code Plug. When you use the KM4VIG file as he releases it he puts the license class info into the “Callsign” field and adds the callsign and first name into the “Name” field. This has a consequence once someone quits talking and the bottom of the display scrolls thru: last callsign (“Callsign”), last caller (“Name”), last group. The radio shows license-class, Call First-Name. My change to the digital contact list CSV puts the callsign back into the “Callsign” field. I leave the “Name” field with the Callsign and First-Name. I put the license info into the “City” field.
Here’s an example of what it looks like. I’ve put it side-by-side with one of the earlier photos for comparison.
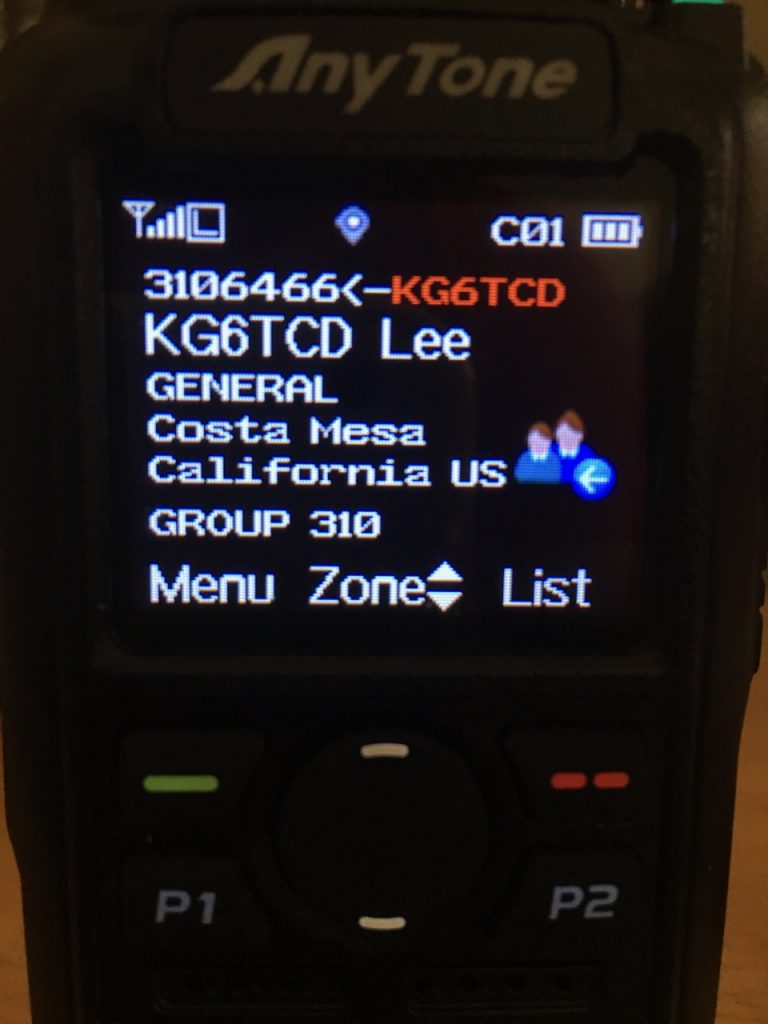
Display Call
K9TM changes to KM4VIG digital contact list.Display Call
Using KM4VIG digital contact list
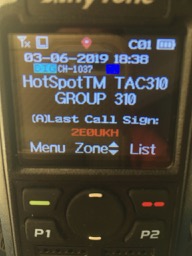
Here’s what the main display looks like scrolling thru the call, caller and group. If you use the KM4VIG digital contact list the first display has the license-class instead of the call (since that is what is in the digital contact list field for “call”). Using my method I see the call both times and the first name where the full name would normally appear.
Good luck on your 878 journey. 73, Tim K9TM